5 Standing Exercises for Bat Wings That Take Just 10 Minutes

We've all experienced it—waving goodbye only to notice the skin on the back of our arms continuing to wave after we've stopped. These "bat wings," as they're commonly called, are a frustration for many. "You guys know what bat wings are? It's when you're wavin, and it goes wave after you've stopped waving, it's still waving," explains Meredith Shirk, Founder of Svelte Training and NASM Certified Health & Body Specialist. The good news? Meredith has designed a simple, equipment-free workout that targets this troublesome area in just 10 minutes. "I am so excited because of an easy and effective bat wing workout. So we're gonna get rid of those bat wings," she promises. Ready to transform those bat wings into toned, defined arms? These five standing exercises might be exactly what you need.
Exercise 1: Tricep Kickbacks (30 seconds)
The workout begins with tricep kickbacks. "Chest up, shoulders back, palms up to the sky and just kicking straight back, bending over and really pressing through your heels," Meredith instructs in her post. This activates your posterior chain, including glutes, hamstrings, and calves while targeting those triceps.
"Push back and squeeze, back and squeeze. Really feel like you're getting that squeeze because that's what's gonna build the muscle," emphasizes Meredith. She reminds us to engage our core: "Pull that belly button in. Everything's core workout."
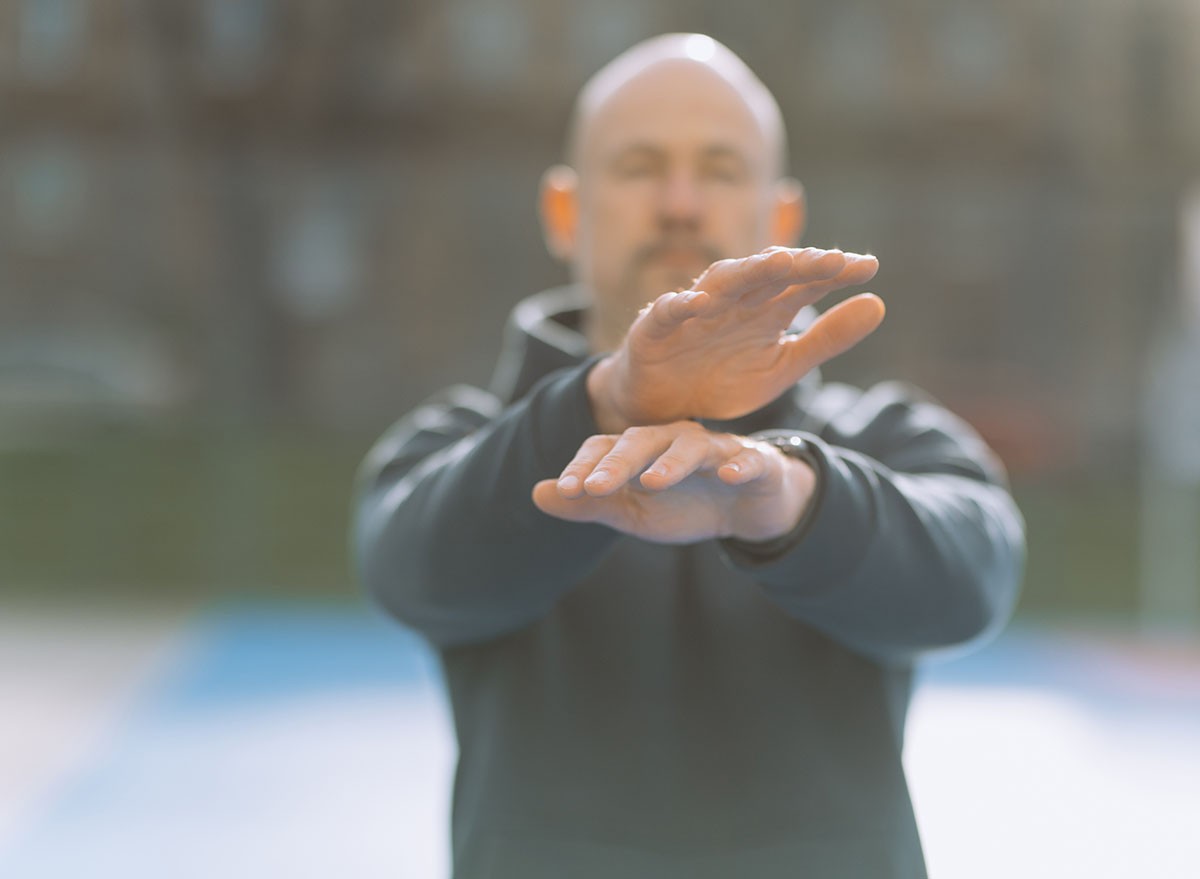
Exercise 2: Prayer Push Out (30 seconds)

Next up is the prayer push out. "Hands together, like, oh, please for my arms. And then you're gonna push out into like almost a diamond and then push back in," says Meredith.
The effectiveness of this exercise depends entirely on tension. "Now the key is you can do this all day long and it's not gonna do anything for you. You have to press your hands together as hard as you can, press your feet into the ground as hard as you can, press your hands out, keeping tension," Meredith explains. "So if you feel like, oh, this isn't doing anything, you need to push your hands together harder here because you should feel it underneath and in that tricep."
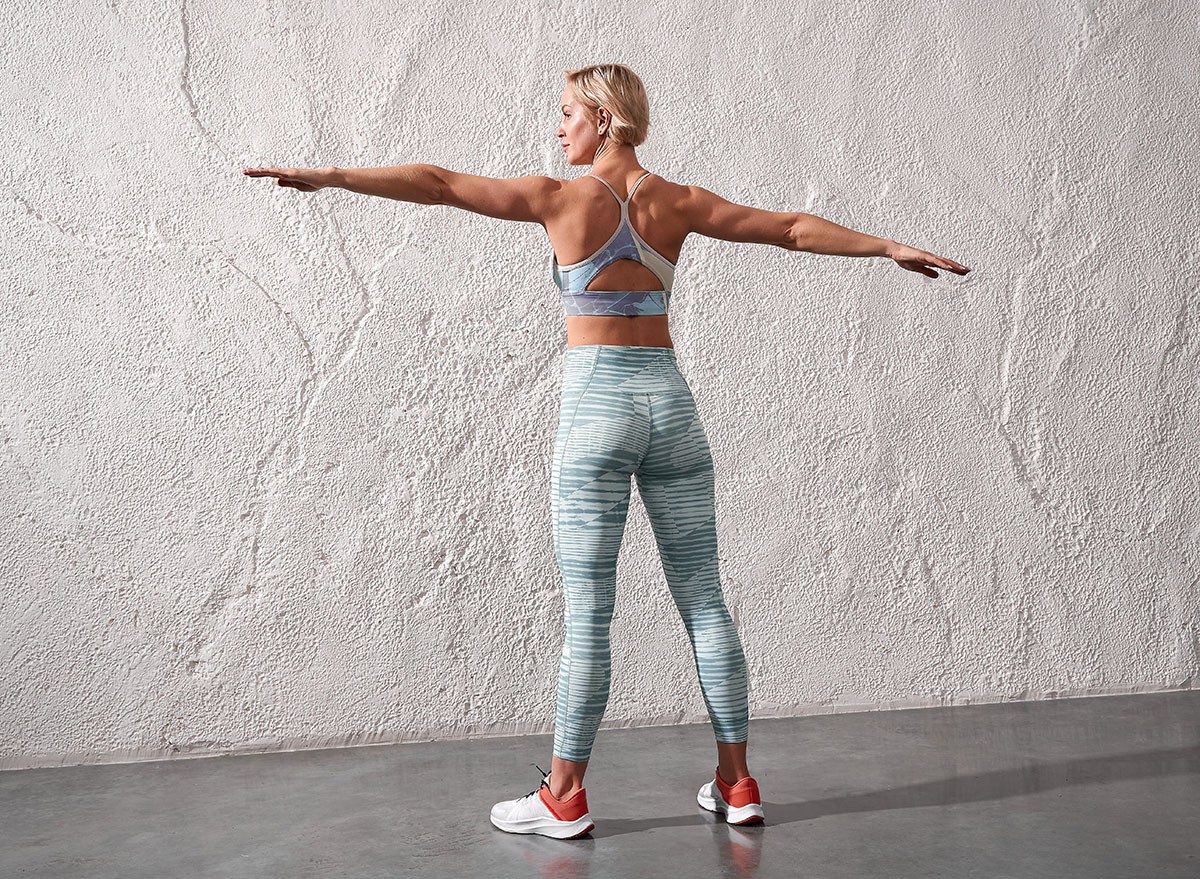
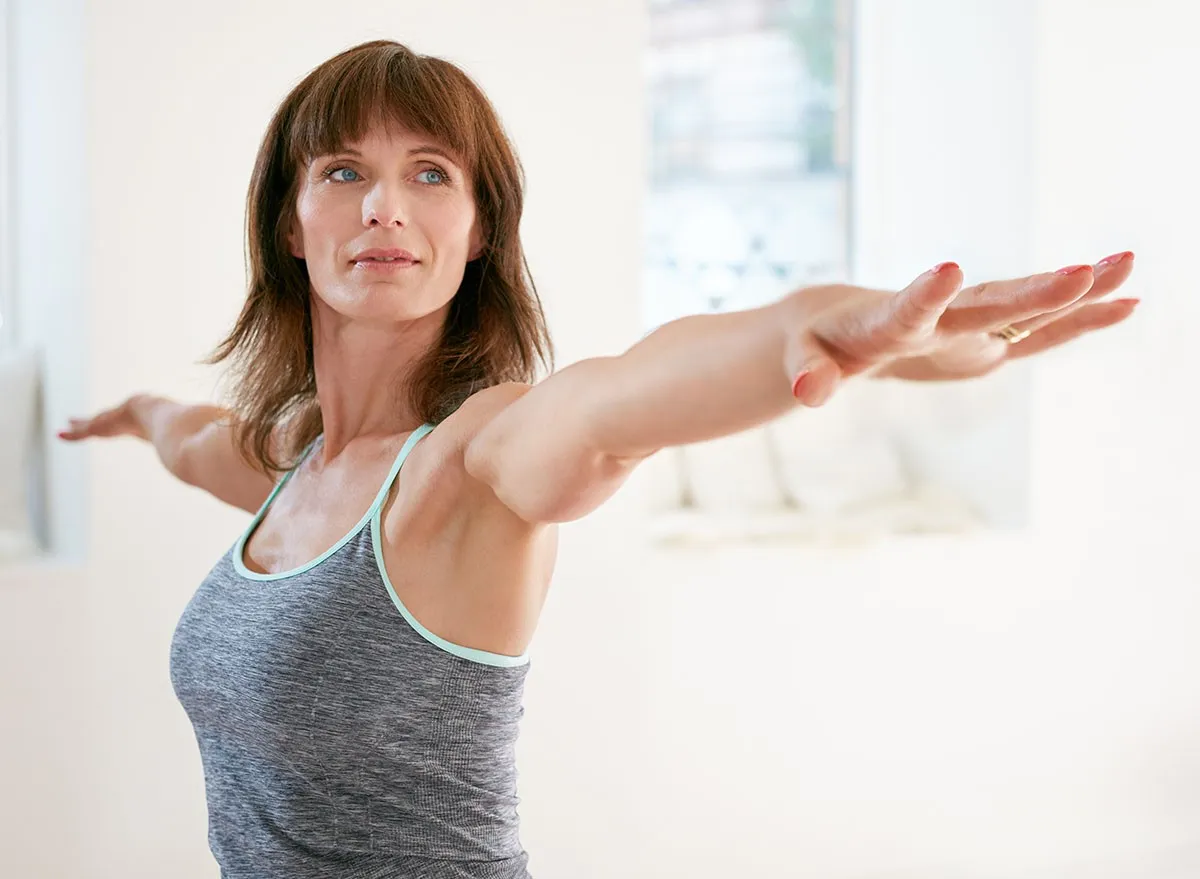
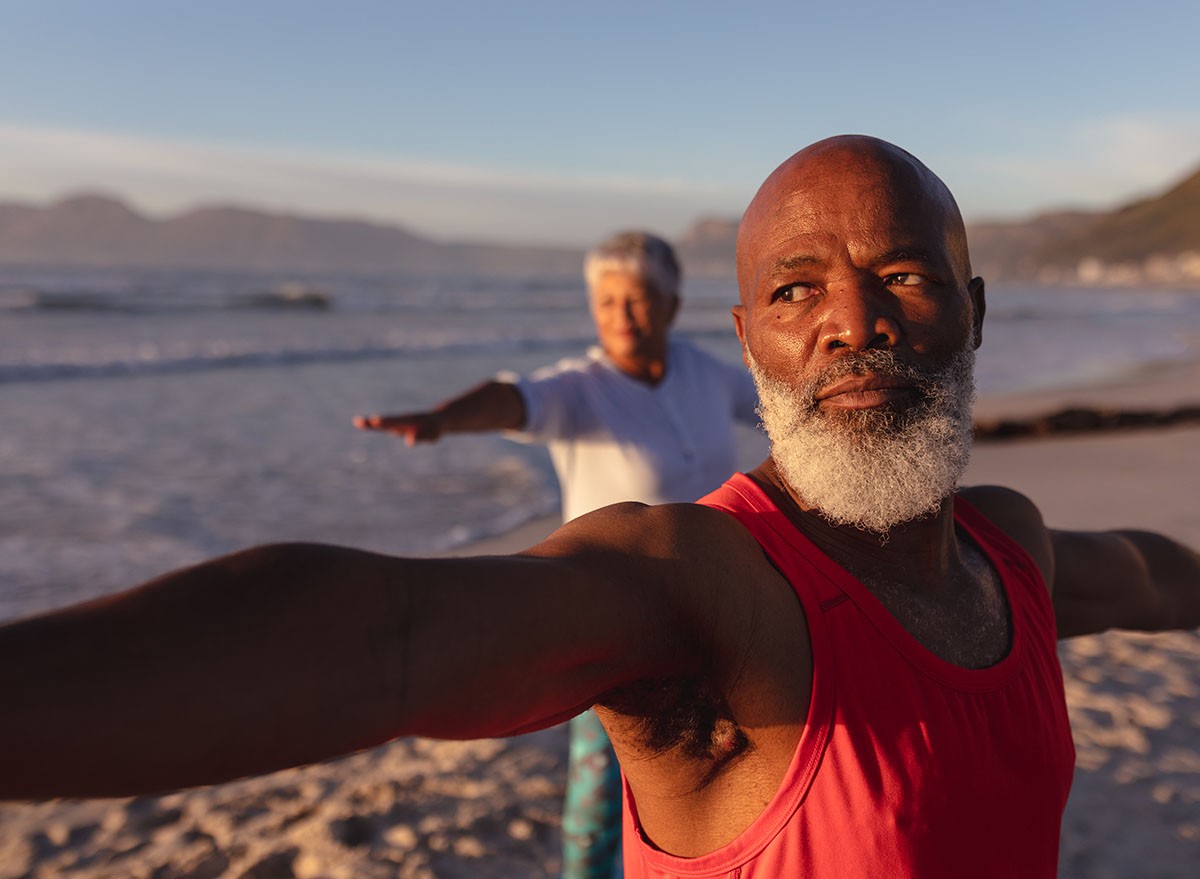
Exercise 3: Lateral Arm Raises (30 seconds)

For the third exercise, extend your arms out to the sides. Meredith describes these as "just like angel wings." After the lateral raises, you'll hold your arms straight out: "Now going straight out. Don't let those arms drop, 30 seconds. So it's gonna get hard now."
Meredith emphasizes full-body engagement: "Chest up, shoulders back, engaging, push through your heels, engage in those legs and pull the shoulders back. You want this to be a full body workout even though you're just moving your arms." She adds, "Pull that belly button in towards the spine. Good, keep those fingers extending out, shoulders down."
Exercise 4: Crisscross Arms (30 seconds)
The fourth exercise involves crossing your arms in front of your body. "Crisscross applesauce. People used to say that to me. I don't even know what that means. What does crisscross applesauce even mean? But you're crisscrossing your arms," Meredith shares with a touch of humor.
As with the other exercises, proper form is crucial: "Things are pressing your hands out. So you're nice and tight in your shoulders and your triceps." She reinforces the importance of full-body engagement: "Don't forget about your legs because it all starts in the ground up. So push your feet in the ground, starting through heels, then go up through your ankles, into your calves, all the way up your hamstrings."
Exercise 5: Small Arm Circles (30 seconds)
The final exercise consists of small, controlled arm circles. "Forward for 30 seconds. Really feel like you're just making a, the size of almost, I'd say a baseball," Meredith instructs. The key is keeping the circles small: "You're going big volleyball, then you go, whoa, exercise ball, right? That's different. It's the little ones."
With her characteristic enthusiasm, Meredith adds: "Little ones, big ones, little ones. I feel like I'm talking to Cruz. Sorry, Cruz is my two and a half year old son. I just get confused sometimes."
Complete the 10-Minute Workout
Meredith recommends performing the entire circuit twice for optimal results. "Now, time to do it again," she says after completing the first round. Since each exercise takes 30 seconds and you'll do two complete rounds, the total workout time comes to just 10 minutes (5 exercises × 30 seconds × 2 rounds = 10 minutes).
Between each exercise, shake out your arms briefly before moving to the next movement. "If your arms aren't burning, I'll tell you what, shake them out. Those things are gonna kill your arms," Meredith warns.
Why This 10-Minute Approach Works

The beauty of this workout lies in its simplicity, efficiency, and effectiveness. No equipment needed, just your body weight and proper form. As Meredith says, "This is how you get rid of these bat wings."
While each 30-second exercise might seem brief, the combination of all five movements performed with proper tension and form creates an effective tricep-targeting routine. The short timeframe makes it easy to fit into even the busiest schedule—just 10 minutes, three times a week can lead to noticeable improvements.
Remember, while this workout specifically targets the triceps area, Meredith emphasizes making it a full-body effort by maintaining proper posture, engaging your core, and pressing through your feet.
Final Thoughts
At the end of the workout, Meredith encourages: "I hope you love this bat wings workout. Now, if you want more awesome arm workouts and leg workouts and butt workouts, hit up there, like, subscribe, and check out all of our awesome videos."
With consistency and proper form, this 10-minute standing workout can be an effective tool in your journey toward more toned, defined arms. The best part? You can do it right at home, with no equipment, in less time than it takes to watch a sitcom episode.


